Tiling Internal Wall Corners

How To Tile Inside Corners Howtospecialist How To Build Step By Step Diy Plans Diy Plans Bath Redo Corner Wall

Tile Outside Corners Tile Edge Trim In Aluminium Concealed Outside Corner Mosaictec Rjf Tile Edge Tile Edge Trim Bathroom Design

Image Result For Inside Corner Of Shiplap Shiplap Wall Diy Ship Lap Walls Diy Shiplap

Internal Corners Profiles Cerfix Proround M P Architecture Details House Design Remodel

Hartwood Roses Workday Weekend Tutorial Tiling The Backsplash Bullnose Tile Guest Bathrooms White Tile Backsplash

Example Of How To Do An Inside Corner With Board And Batten Board And Batten Batten Wainscoting

Therefore you have to install hardibacker on the areas exposed to water and seal the joints by using thinset and paper tape.
Tiling internal wall corners.

Curved Corner Tiles I Want Bathroom Interior Design Tiles Curved Walls
Aluminum Edge Trim For Outside Corner Home Depot Bathroom Tile Trim Tile Edge

Penny Tiles And Outside Corners Fine Homebuilding Breaktime Penny Tile Penny Tiles Bathroom Tiles

N Stair Nosing On Slip Stairtec Fo Profilitec Stena Plitka Sovremennyj Tualet Vnutrennyaya Otdelka

Interior Design Ideas Home Bunch An Interior Design Luxury Homes Blog Ship Lap Walls Installing Shiplap Shiplap Wall Diy

How To Tile Inside Corners Howtospecialist How To Build Step By Step Diy Plans Tile Around Window Diy Plans How To Hang Wallpaper

How To Finish Tile Edges And Corners Tile Mountain Tile Edge Bathroom Shower Tile Shower Tile

Grey Il Basalt Corner Internal Jpg 1 024 768 Pixels Stone Tile Wall Natural Stone Wall Natural Stone Tile

22 Stone Wall Interior For Different Look At The Corner Of Your Room Stone Wall Cladding Stone Walls Interior Exterior Wall Cladding

Terminal 1 Departures Florim Introduces The Italian Style And Beauty To Malpensa With The N Bathroom Flooring Bathroom Floor Plans Bathroom Remodel Designs

Beveled Large Subway Tile With Grey Grout Bevelled Tiles Beveled Subway Tile Bathroom White Beveled Subway Tile

The Corner Matched Tiles In This Herringbone Bathroom Wall Oddlysatisfying Tiles Bathroom Interior Design Bathroom Wall

Oytser Split Face Mosaic Feature Corner Wall Ready For Log Burning Stove To Be Fitted Tiles Supplied By Ro Wood Stove Corner Wood Stove Stone Wall Living Room

Dark Grout Done Right Excellent Detail Of Caulk Matched To Tile Not Grout At Corners Don T Use Dark Caulk White Tiles Grout Color Beautiful Houses Interior

Chrome Panel Trim Perfect For Bathroom Kitchen Shower Wall Pvc Cladding Panels 8mm Internal Corner Edging Trim 100 Wa Pvc Cladding Cladding Panels Shower Wall

How To Install Mosaic Tile On An Inside Corner Glass Mosaic Tile Mosaic Glass Mosaic Bathroom Accessories Glass Mosaic Tiles

Neolith Wall Tiles Neolith Moon 30x60 Neolith Caramel 30x60 Neolith Grey 30x60 Decorations Neolith Tiles For Sale Wall Mounted Corner Shelves Wall Tiles

Resin Edge Trim For Tiles Inside Corner Coflex Cr Profilitec Podlahy Dlazdice Napady
Https Encrypted Tbn0 Gstatic Com Images Q Tbn 3aand9gctlqtwahoy1q7dnqc Kpjjpxz9cy Jkwj76dtglpdaixq7iz Jk Usqp Cau
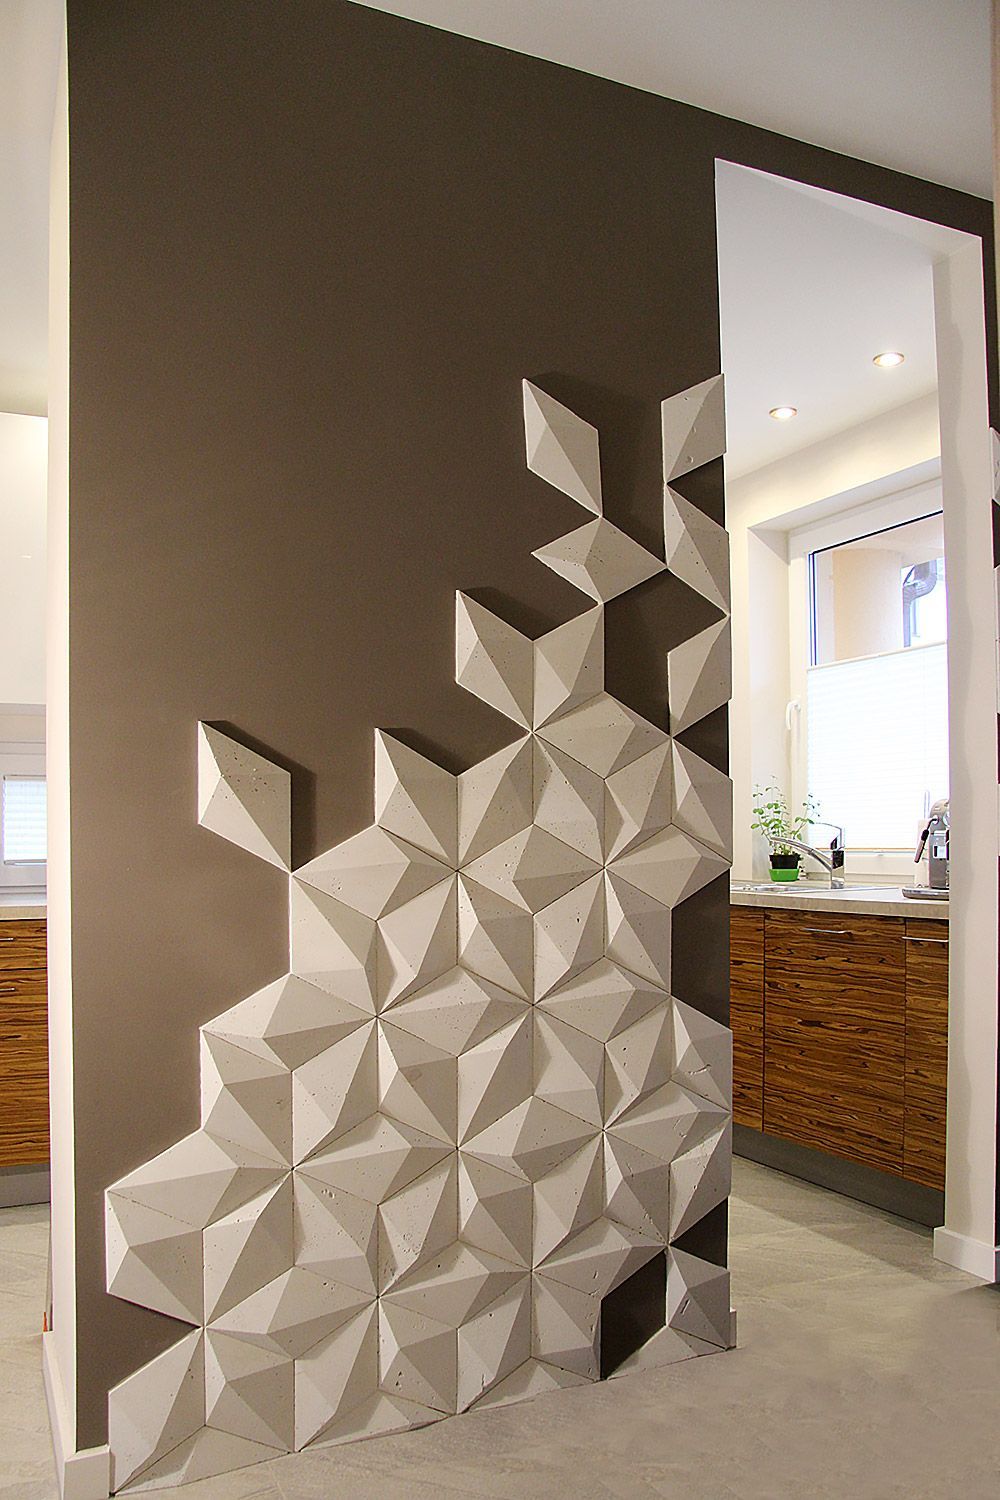
Klinika Betonu Wall Design Interior Walls Diy Backsplash

Brass Edge Trim For Tiles Round Corner Novocanto Laton Emac Complementos S L Tile Edge Tile Edge Trim Schluter Tile Edge

Pvc Aluminum Quarter Circle Tile Trim Finish White Tile Thickness Compatibility 3 8 By Blanke 12 85 347 501 10025 Fin Tile Trim Bullnose Tile Home Decor

Oyster Split Face Slate Wall Mosaic Cladding Tiles 0 99p Sample Ebay Wall Cladding Tiles Tile Cladding Wall Tiles

Admirable Bathrooms Look With Corner Bathtub Designs Divine Bathrooms Decorating Ideas Bathroom Tub Shower Combo Corner Tub Shower Combo Tiny House Bathroom

Caribbean Green Granite Tub Surround With Tile Accent Wall Visit Globalgranite Com For Your Natural Stone Needs Tile Accent Wall Tub Surround Green Granite

Sanitec Sb 12 Joining Aluminium Profiles For Internal Corners Aluminum Uses Corner Expansion Joint

Cursive By Crossville Inc In 2020 Crossville Unique Tile Shapes Wall Tiles

Pin On Stylish Spaces

Bathroom Garden State Tile In 2020 Bathroom Corner Bathtub Bathtub

Jolly Mold In Bathroom Exterior Tiles Tile Edge

Details About Gloss White Wall Panels Bathroom Trims Shower Wet Wall Cladding Pvc Ceiling White Wall Paneling Wall Cladding Pvc Ceiling

Artea 10 X 10 Porcelain Spanish Wall Floor Tile Corner Kitchen Cabinet Kitchen Corner Small Kitchen

How To Frame A Wall Corner How To Build A Corner Wall Framing Construction Corner Wall Frames On Wall

Subtle Herringbone Tile Shower Wall And Niche Jnl Marble Granite Shower Tile Herringbone Tile Marble Granite

Corner Guard Jpg Corner Guards Stripped Wall Wall Coverings

Instagram Worthy Lieblingsblicke Sfgirlbybay Green Bathroom Green Tile Backsplash Home

Wall Panels Covered With Vermont Synthetic Leather Padded And Tucked In At The Edges Because The Pane Covered E In 2020 Wall Panels Modern Floor Tiles Tile Bathroom

Pin On Bathroom

Original Style Tiles Moorish Internal Corner Black On Red Decorative Wall And Style Tile The Originals Tiles

Side View Of Shiplap Paneling Corner Piece The Inspired Room This Post Answers Faq On Installing Diy Shiplap Wa Ship Lap Walls Shiplap Wall Diy Diy Shiplap

19 Creative Corner Kitchen Plans Modern Tv Wall Units Home Decor Tv Unit Interior Design

Freshen Up Your Bathroom In 2017 With This Mixed Tile Trend Beautiful Bathrooms Interior Design Trends Amazing Bathrooms

Metropolitan Silver Floor Tiles Stonker Porcelain Tiles Dizajn Vannoj Komnaty Plitka Plitka Dlya Vannoj
Https Encrypted Tbn0 Gstatic Com Images Q Tbn 3aand9gcsm4axuk8e8vhaey5woeojglx0qcevk Umalnietwdpr35yngmn Usqp Cau
Source : pinterest.com
